Start from here | Company
This guide will take you to go through OwlPay services from 0 to 1.
Let’s start enjoying automated remittance and cross-border payout services through OwlPay!
☞ If you're a "Vendor", please refer to Start from here | Vendor for more details.
☞ If you're a "Developer", please refer to OwlPay API to start API Integration.
1. Set up OwlPay
Step 1. Register OwlPay Admin Account
To start, you need an OwlPay account. Click the OwlPay login page to register a new user account.

Step 2. Click "Create company" and create your first company

Once you created, your company will be displayed on the "Company" page.

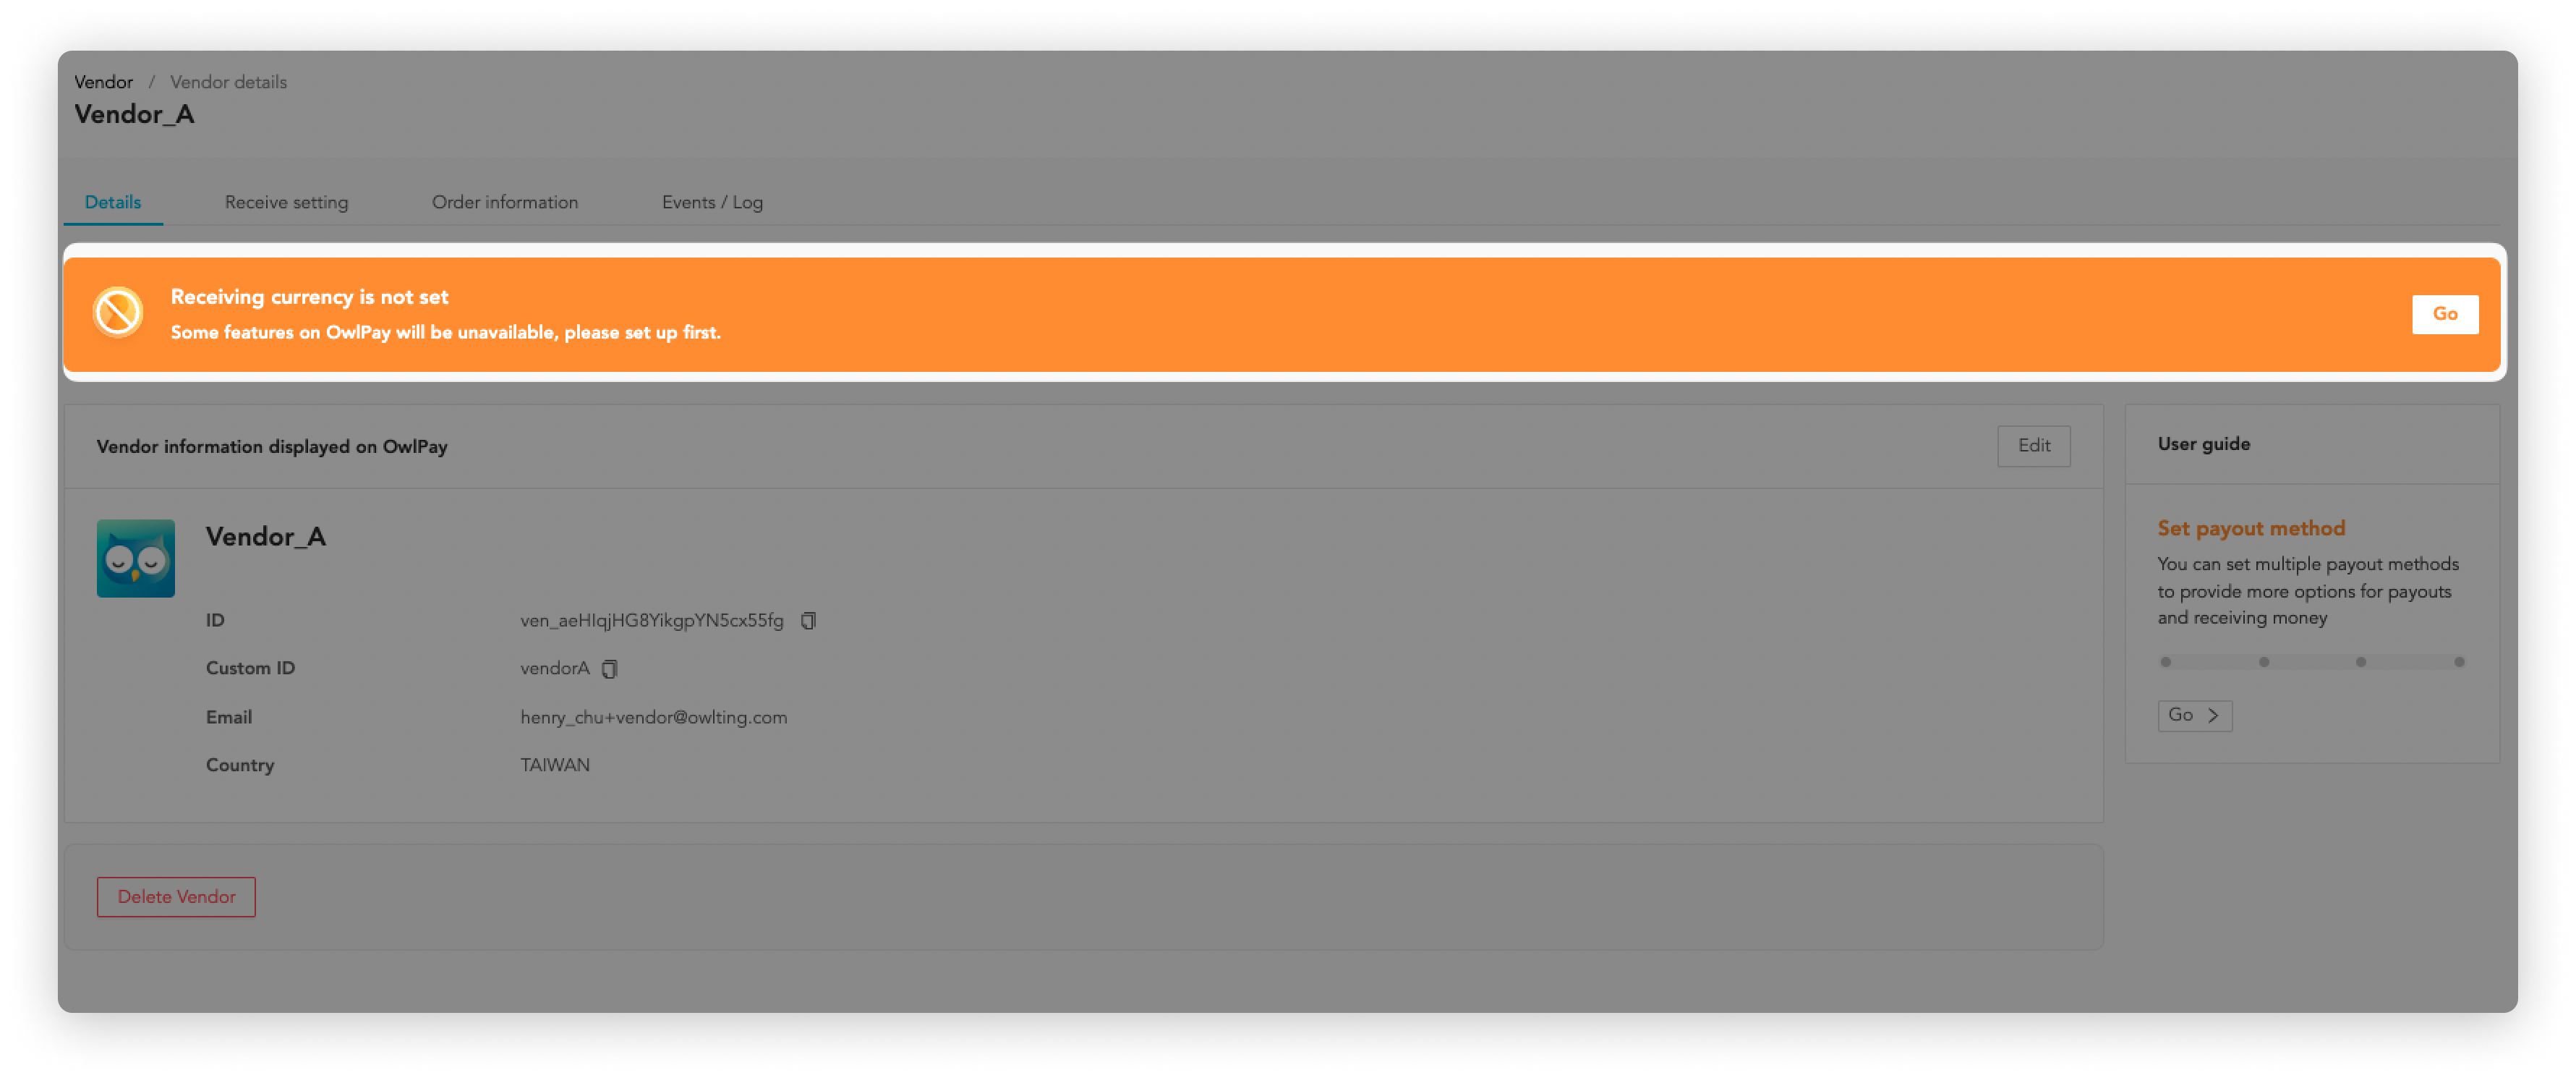
Step 3. Set up payout methods
After entering the company management page, click "Go" on the orange banner to set up payout methods
Add the required payout methods according to your needs!

Step 4. Complete the bill payment
Click Settings > Billing to pay the bill.
If you do not see the bill, please Email to OwlPay

2. Start to use OwlPay
Step 1. Invite and verify your vendor
When you first open the OwlPay Dashboard page, there will be no available data on the dashboard. Don't worry, this is because order information has not been imported yet.
Click "Vendor information" to invite a vendor and add receiving payouts information. OwlPay team will review this vendor information to activate full account functionality!
If you're using Shopify, try using Shopify-OwlPay Manage Order & Vendor App to sync the vendor information to OwlPay
Step 2. Manage order
When a new order is created on your platform, you can transfer order information to OwlPay through:
The Dashboard gives you a quick overview of your company's revenue information and charts of recent order growth.

Want to check order details? You can see this information on the Order page.

If you're using Shopify, try using Shopify-OwlPay Manage Order & Vendor App to sync the order information to OwlPay
Step 3. Apply for order reconciliation
If you are ready to transfer money to vendors, click Reconciliation to start the reconciliation process (For more details, please refer to OwlPay Payout Process.

Step 4. Review reconciliation order
When you submit an order for reconciliation, the person responsible for reviewing can view the order details on the Review page and approve/reject the application.

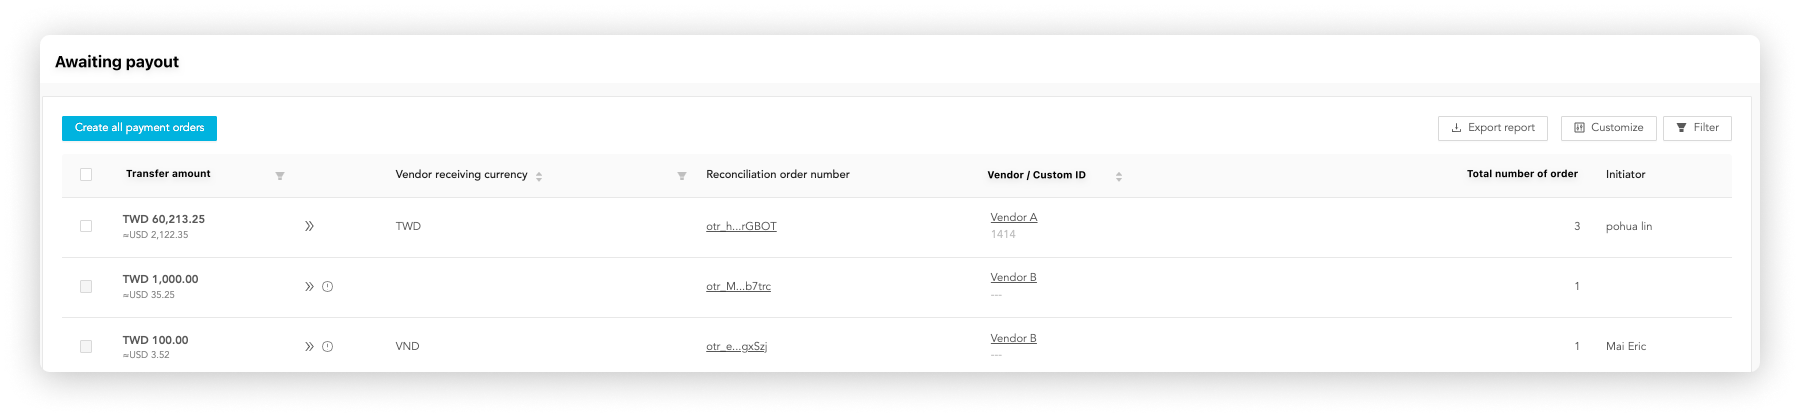
Step 5. Make payout to vendors
If the request is approved, you can set up the order(s) payout on the Payout page. OwlPay will make payouts on the specified date for you.